Precast Movement Joints — Why Reseals Fail (and How to Fix Them Properly)
If you’ve resealed a precast joint twice, the joint probably isn’t the problem — the detail is
Precast buildings are brilliant for speed and consistency, but they come with one reality: joints move.
Most recurring leaks we see in precast aren’t because “sealant doesn’t work.” They happen because the joint detail is treated like a paint line:
- sealant slapped over poor geometry
- no backing rod
- contaminated edges
- spalled arrises
- wrong sealant type for movement/UV
- joint width/depth not suited to the building’s movement
That’s why some joints get resealed every 12–24 months and never truly settle down.
1) Precast joints are designed to move — sealant has to be installed to accommodate that
Precast panels expand/contract with temperature, creep, shrinkage and building movement. If the sealant bead can’t stretch and compress properly, it fails.
Typical reseal failure modes:
- adhesive failure (peels off one side)
- cohesive failure (splits through the middle)
- cracking at the edges
- pinholes and micro-gaps that become leaks under wind-driven rain
2) The #1 reason reseals fail: joint geometry is wrong (or not controlled)
Sealant isn’t magic. It needs the right shape.
What we often find on failed joints:
- too shallow (thin bead tears)
- too deep (bonded on three sides → can’t move properly)
- no backing rod (no geometry control)
- uneven joint width (bead performs differently along the run)
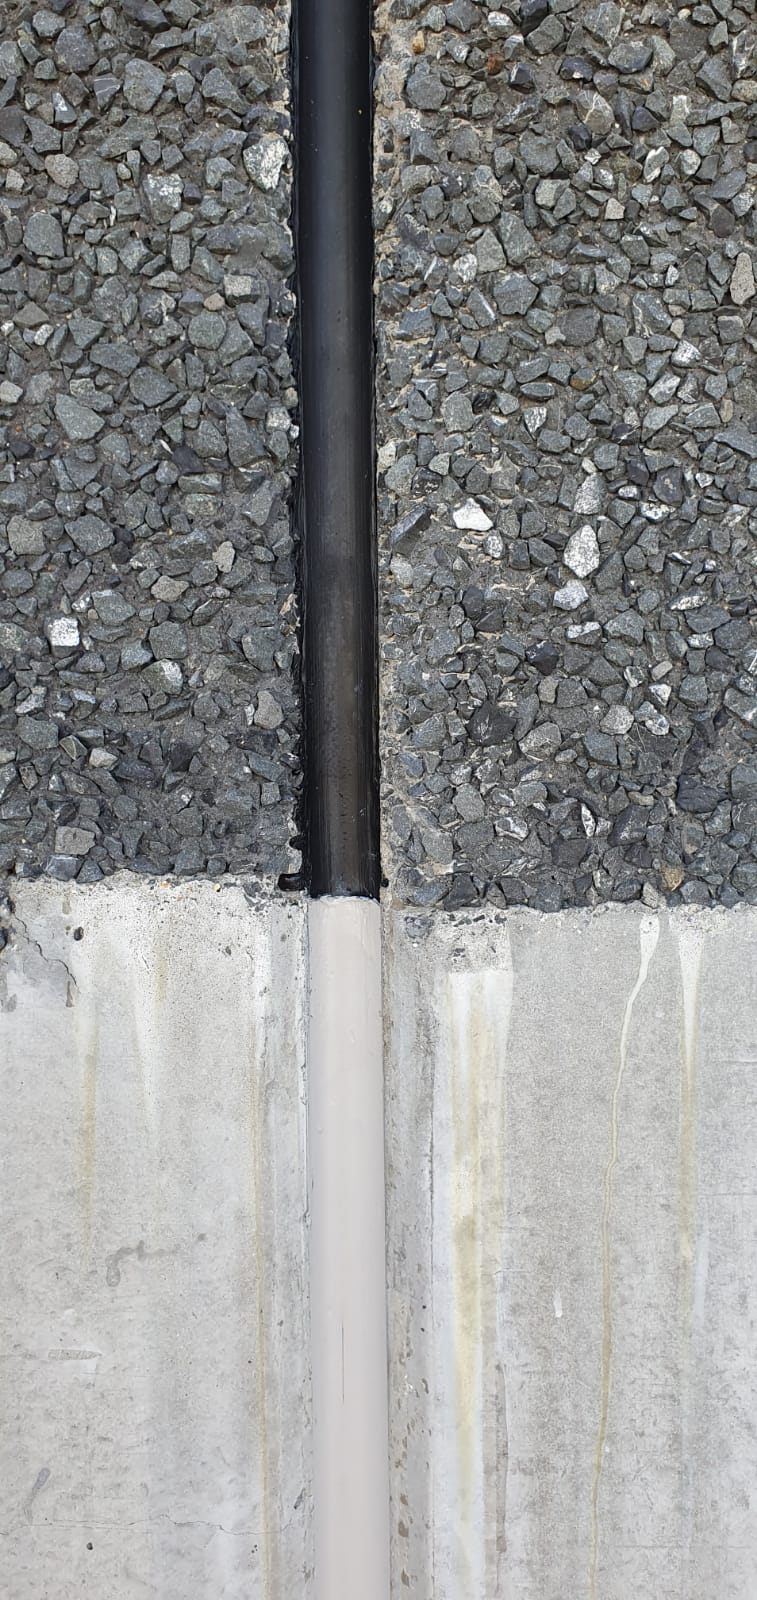
What “good” looks like:
- backing rod installed correctly
- joint depth controlled to suit movement
- sealant bonded to two sides only (not three)
If joint geometry isn’t corrected, you’re resealing a design flaw.
3) The #2 reason reseals fail: poor edge condition (spalled arrises, broken corners)
Precast joint edges are often damaged:
- chipped arrises
- surface laitance
- minor cracking
- old sealant residue still present
If the edge is weak, sealant adhesion is compromised and the joint becomes a leak path again.
Fix is simple but non-negotiable:
- remove all failed sealant properly
- repair damaged edges where required
- prepare the concrete to a sound, bondable surface
4) The #3 reason reseals fail: contamination and poor preparation
Sealant does not bond reliably to:
- dust
- old silicone residue
- curing compounds
- oils/release agents
- chalky cement paste
A “quick reseal” often skips the boring steps — and those are the steps that decide whether it lasts.
A proper reseal is:
- removal
- clean-out
- surface prep
- primer where required
- correct backing + geometry
- correct installation
5) The #4 reason: the sealant type doesn’t match the exposure (UV, movement, traffic)
Some joints are:
- external and highly UV exposed
- subject to wind-driven rain
- under movement cycling
- in trafficable locations (podiums, service yards)
Choosing the wrong sealant system makes even good workmanship fail early.
We select sealant systems to suit:
- movement class
- UV exposure
- substrate condition
- joint orientation (vertical vs horizontal)
- expected abrasion / cleaning regime
6) The joint might not be the entry point (water can track behind panels)
This is the one that confuses everyone: water appears at a joint, but the pathway is behind the panel system or through hidden interfaces.
Signs you’re dealing with tracking, not a simple joint leak:
- water appears inside far from the “leaky” joint
- reseals work briefly then fail
- there are penetrations, cracks, or defects nearby
- water appears only during wind-driven rain from a specific direction
In these cases, the best fix can be:
- joint remediation plus penetration detailing
- targeted injection (especially where water is tracking behind)
- sealing void pathways if present
The “do it once” approach (what we recommend)
A durable precast joint solution usually follows this logic:
- Confirm movement + water entry behaviour (don’t assume)
- Remove all failed sealant and clean the joint properly
- Repair joint edges if arrises are damaged
- Install correct backing rod and control joint geometry
- Prime where required and install sealant correctly
- Treat adjacent details (penetrations/terminations) if they’re part of the pathway
- Verify with observation during a rain event or controlled testing where practical
That’s the difference between resealing and actually fixing.
Next Steps
If you’ve got a recurring precast joint leak, send us:
- a photo of the joint (close + 2–3m wide shot),
- whether it leaks only in wind-driven rain, and
- how many times it’s been resealed.
We’ll tell you whether it’s a straight reseal, an edge-repair + reseal, or a pathway issue needing injection/detail integration.