Negative-Side Waterproofing — When It’s the Only Practical Option
If you can’t waterproof from the outside, you’re not out of options
In a perfect world, you’d waterproof a basement wall or retaining wall from the outside (positive side)—then protect it and backfill correctly.
In the real world, external access is often impossible:
- the wall is under a footpath, driveway, or neighbouring property
- the building is occupied and excavation is disruptive or unsafe
- services and structures make access too risky
- you’re dealing with a lift pit or existing basement in a live building
That’s where negative-side waterproofing comes in: waterproofing applied on the inside face of the structure (the side opposite the water source).
Done properly, it can be the difference between “live with it” and “dry space”.
Done badly, it becomes an expensive band-aid.
1) Positive-side vs negative-side: the simple explanation
Positive-side waterproofing
Water is stopped before it enters the concrete. This is generally the gold standard.
Negative-side waterproofing
Water is stopped after it has entered the concrete, by forming a barrier on the inside face and managing pathways so water can’t push through.
Negative-side systems are often used in:
- basements and retaining walls
- lift pits
- plant rooms below ground
- tanks and below-grade concrete assets (depending on design intent)
2) When negative-side waterproofing is the right answer
Negative-side waterproofing makes sense when:
- external excavation is not possible or not economical
- the structure is already built and in service
- you need a solution that can be applied from internal access
- the issue is recurring dampness, seepage, or active ingress driven by rain/water table changes
It’s also often the only realistic approach when you need to keep the building running.
3) When negative-side waterproofing is not the right answer
Here’s where people waste money: applying a “waterproof coating” internally without fixing the drivers.
Negative-side systems struggle when:
- you’ve got active running leaks (high-flow water) and you try to coat straight over it
- there are major voids/honeycombing behind the surface (water bypasses the barrier)
- the ingress is through joints, penetrations, or movement interfaces that still move
- the substrate is contaminated, weak, or not properly prepared
In these cases, negative-side waterproofing can still work — but only if you stage the job correctly.
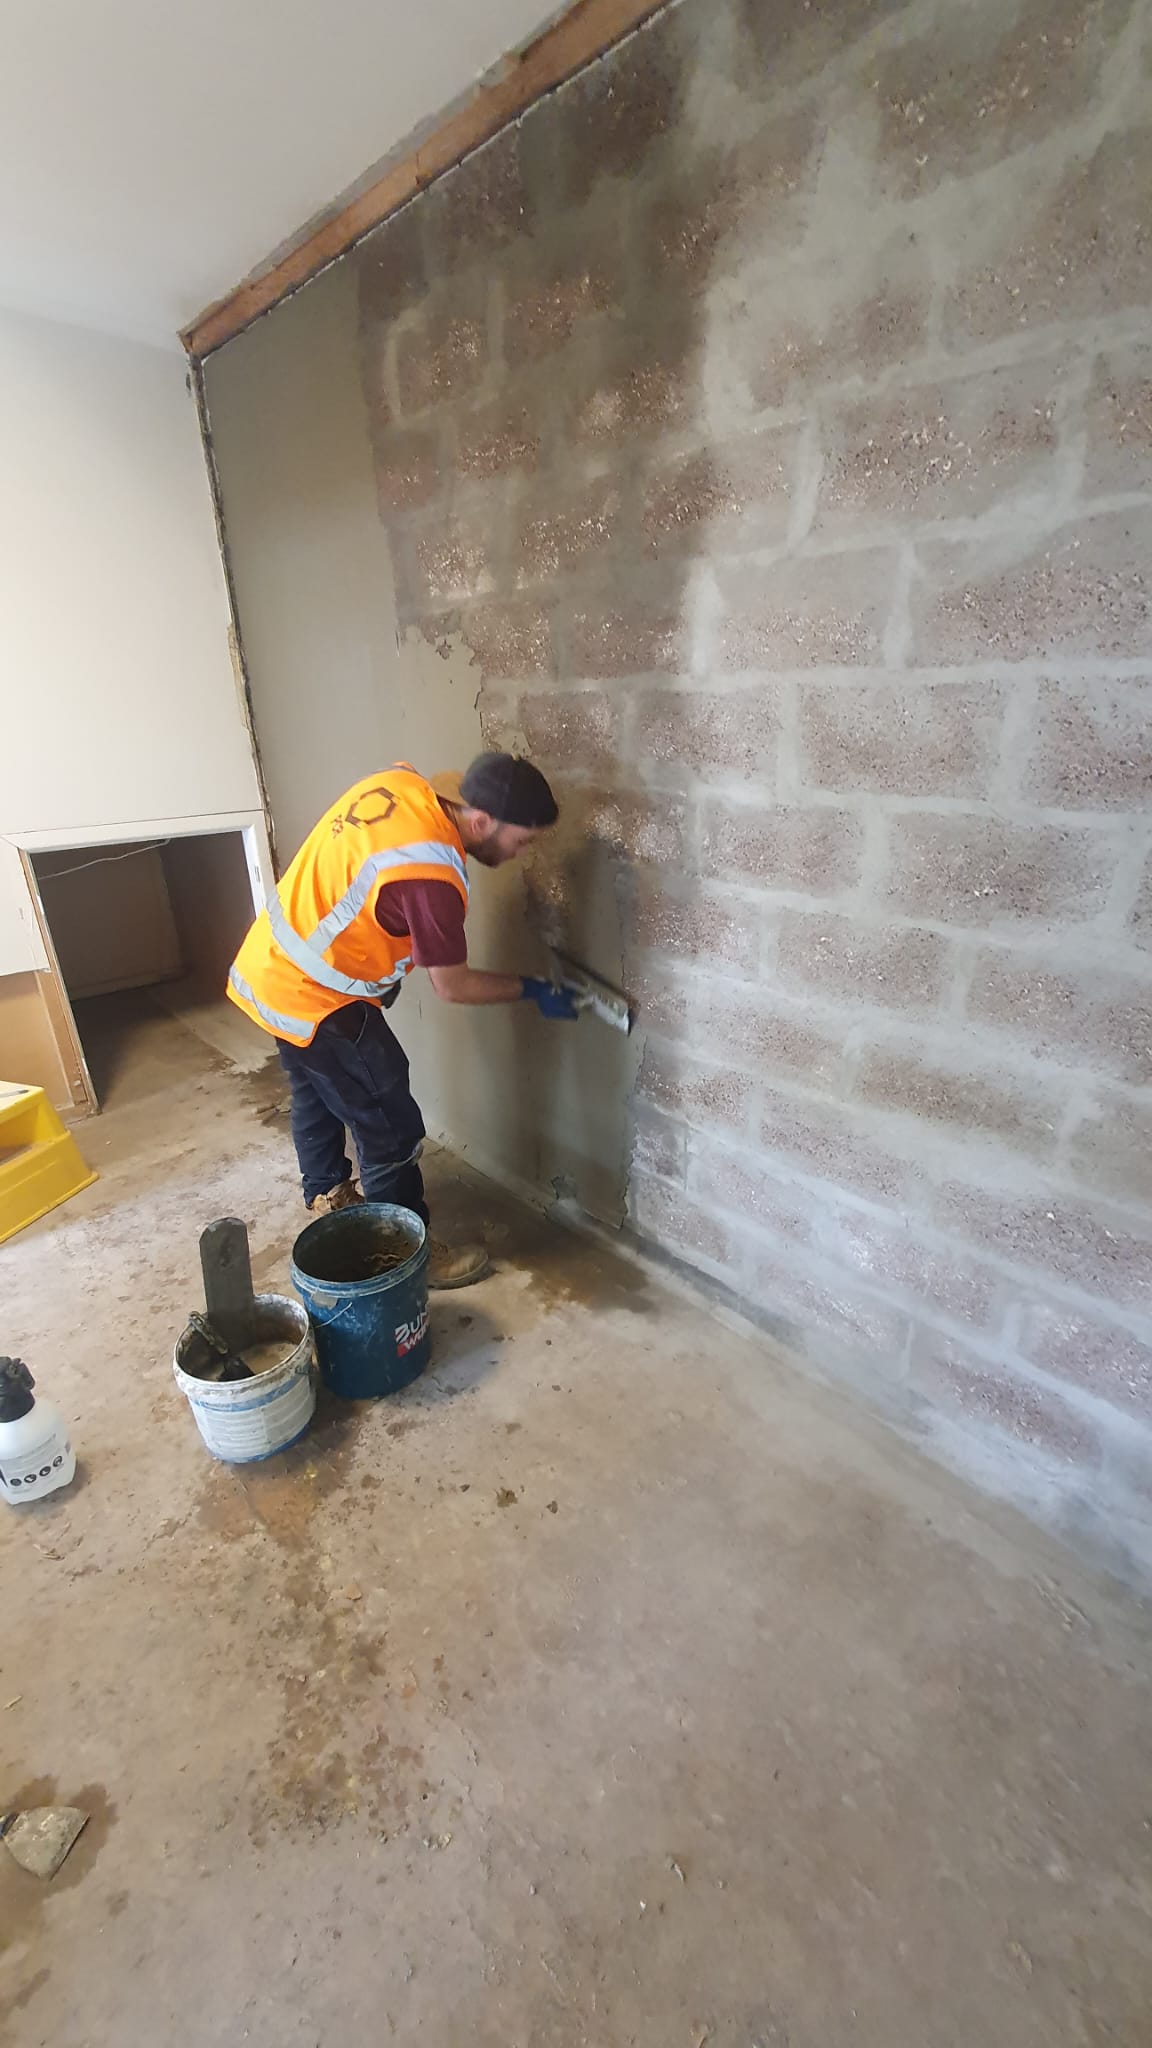
4) The correct sequence (this is what separates specialists from “paint and pray”)
Negative-side waterproofing isn’t a single product. It’s a system delivered in the right order.
Stage A — Stop active leaks first
If water is actively running, we typically stop flow with the appropriate injection approach before any coating is considered.
Stage B — Seal hidden pathways and voids
This includes dealing with:
- honeycombing / porous zones
- tie holes and pockets
- duct/void pathways that let water track through the structure
If these remain open, water will find a way around your internal barrier.
Stage C — Fix joints, junctions and penetrations
Most leaks are detail-driven. We treat:
- wall/floor junctions
- cold joints and construction joints
- penetrations and terminations
- precast movement joints where applicable
Stage D — Install the negative-side barrier
Only once the substrate and details are prepared do you install the barrier system to resist seepage and dampness over the broader area.
This staged approach is why internal waterproofing can be successful long-term.
5) The most common places we use negative-side systems
Basements and retaining walls
Especially when external access is blocked.
Lift pits
Where wall/floor junctions, cold joints and penetrations cause repeat ingress.
Plant rooms and service zones below grade
Where water doesn’t just damage finishes — it damages equipment and compliance.
Podium/planter interfaces (in some configurations)
Where water is finding pathways into internal spaces and details need correcting.
6) Quick self-check: do you actually need negative-side waterproofing?
You likely do if:
- excavation isn’t possible
- leaks are recurring after rain events
- patch repairs and reseals have failed
- the space needs to be useable/dry, not just “less wet”
But if you have easy external access, positive-side waterproofing is usually the smarter long-term option.
Next Steps
If you’re dealing with a below-grade leak and excavation isn’t realistic, send us:
- photos of the leak area (wide + close),
- when it leaks (constant vs after rain), and
- whether water is actively running or just damp.We’ll tell you whether negative-side waterproofing is suitable — and what staging is required so it actually lasts.