Lift Pits — The 6 Leak Points We See Over and Over (and How We Fix Them)
Lift pits leak for boring reasons — and that’s good news
Most lift pit leaks aren’t mysterious. They come from a small number of repeat failure points — and when you understand those, the fix becomes a sequenced remedial job, not a guessing game.
The biggest mistake we see is treating a lift pit like a normal room: patch a crack, paint on a coating, hope for the best.
Lift pits are different:
- they sit below ground
- water pressure changes with rain and groundwater
- they have penetrations and structural interfaces everywhere
- they often need a solution that can be installed from inside, with minimal disruption
The 6 most common lift pit leak points
1) Wall/floor junction (the #1 offender)
This is the classic. The wall and slab are different pours, and the interface is a natural weakness.
Why it leaks:
- shrinkage and movement at the junction
- poor compaction at the base of the wall
- discontinuity at kickers / construction sequencing
- water tracking along the interface behind finishes
How we fix it:
- stop active flow (if present) using the right injection approach
- treat the junction as a detail: seal, reinstate, and integrate with a barrier system if required
2) Cold joints / construction joints (including kickers)
Cold joints are effectively “planned cracks” unless they’re detailed correctly.
Why it leaks:
- laitance or contamination at the joint
- poor consolidation
- joint not properly water-stopped
- movement + hydrostatic pressure exposing the weakness
How we fix it:
- targeted sealing/injection to close the pathway
- joint detailing to make it watertight (not just “covered”)
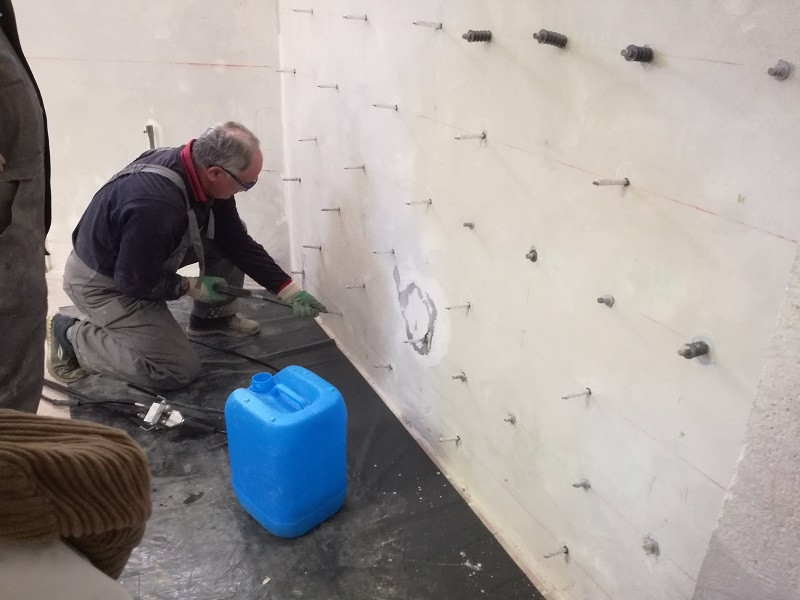
3) Penetrations (pipes, conduits, bolts, sleeves)
Penetrations are where waterproofing goes to die — especially when the original detail didn’t account for movement or pressure.
Why it leaks:
- annular gaps around sleeves
- shrinkage away from penetrations
- mixed substrates and poor adhesion
- “sealed” but not properly detailed for pressure
How we fix it:
- treat the penetration as a system detail (not just a blob of sealant)
- combine sealing + reinstatement + barrier integration where needed
4) Honeycombing / porous concrete / voids
This is a common one in pits: concrete looks “fine” until you realise water is travelling through it.
Why it leaks:
- poor vibration/compaction
- congested steel at pit corners
- bugholes and voids interconnected behind the surface
- water bypassing along porous zones
How we fix it:
- open up and reinstate defective zones properly
- seal hidden pathways (not just the face)
- only then apply any negative-side barrier
5) Cracks (structural or shrinkage) — the one everyone sees
Yes, cracks can leak — but they’re not always the cause.
Why it leaks:
- crack is active (opens/closes)
- water is tracking behind the crack line
- crack is adjacent to a junction/joint that’s the true pathway
How we fix it:
- choose the injection approach based on the crack behaviour (structural vs leaking vs moving)
- don’t ignore the nearby details — they’re often the real culprit
6) Drainage / sump issues (and “water has nowhere to go”)
Sometimes the pit isn’t leaking more — it’s just flooding because the drainage strategy is poor or failing.
Why it matters:
- water builds pressure at weak points
- any minor defect becomes a leak
- pumps and sumps change the water behaviour over time
How we approach it:
- we’ll flag drainage risks early, because waterproofing without addressing water management is often wasted spend
The staged approach that actually lasts (what we recommend)
When lift pits leak, the best results come from sequencing:
- Stop active leaks first (if water is running)
- Seal pathways and voids (defects, honeycombing, hidden routes)
- Detail the junctions and penetrations (the repeat offenders)
- Apply a negative-side barrier only where it makes sense
- Protect and maintain (so the repair isn’t wrecked during ongoing building works)
This avoids the “coat everything and hope” approach that fails under pressure.
Next Steps
If your lift pit leaks, send us:
- a wide photo of the pit (showing corners/junctions/penetrations),
- a close-up of where water appears, and
- whether it leaks constantly or only after rain.
We’ll tell you the most likely leak point(s) and propose a staged fix that actually holds up.